 Save
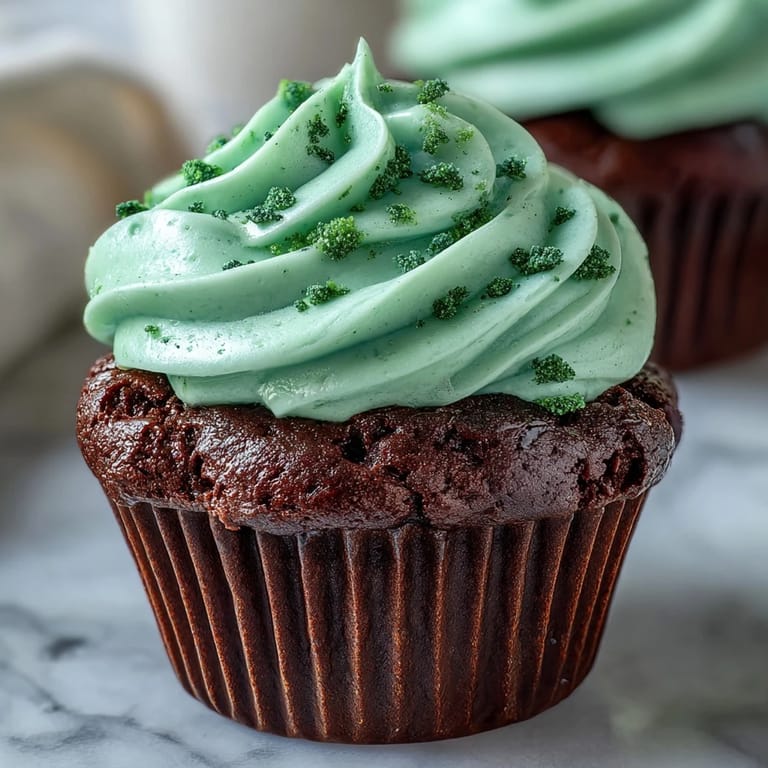
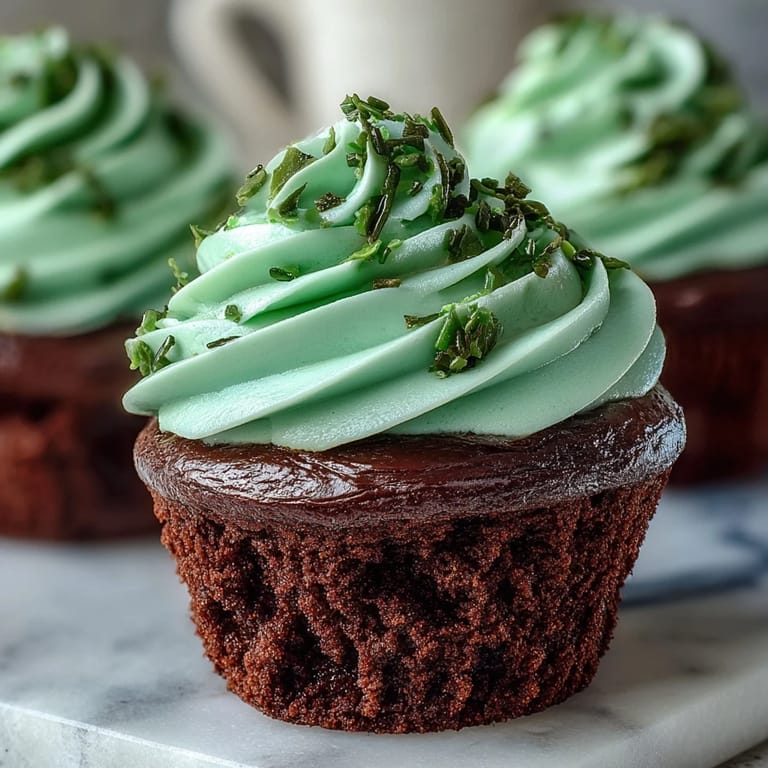
Save My neighbor knocked on my door that March morning with a mischievous grin, holding up a bottle of green food coloring. She'd challenged me to make something festive for St. Patrick's Day that didn't involve the usual clichés, and honestly, I was tired of making the same old green sugar cookies everyone else brought to parties. That's when these green velvet cupcakes came to mind—that perfect marriage of velvet cake's tender crumb with a cocoa whisper and vibrant green hue that actually looked elegant instead of cartoonish. The result was cupcakes that tasted sophisticated while looking cheerfully festive, and my neighbor's surprised reaction when she bit into one made the whole experiment worthwhile.
I brought a batch to the office potluck last year and watched people genuinely light up when they saw the green interior—not because of the color itself, but because the taste didn't match the initial expectation. Someone said it tasted like spring, which stuck with me. That's when I realized these cupcakes work because they're celebratory without being gimmicky, festive without apology.
Ingredients
- All-purpose flour: The foundation of your tender crumb; make sure it's spooned and leveled, not scooped directly from the bag or you'll end up with dense cupcakes.
- Granulated sugar: Sweetness and structure combined, though don't be tempted to reduce it or the cupcakes lose their moisture.
- Unsweetened cocoa powder: This is the secret that makes the green not taste artificial—the cocoa provides a subtle earthiness that grounds the whole thing.
- Baking soda: Works with the vinegar to create lift and that characteristic tender crumb of velvet cakes.
- Salt: A pinch that makes everything taste more like itself, including that cocoa flavor.
- Buttermilk, room temperature: Brings tanginess and richness; cold buttermilk can create lumps in the batter if the other ingredients aren't warm enough to accept it.
- Vegetable oil: Keeps these softer and more tender than butter would, which is exactly what you want in a velvet cake.
- Eggs, room temperature: Critical for emulsifying the wet ingredients smoothly; cold eggs create separation and a dense final product.
- Vanilla extract: Use real extract, not imitation, because it carries the flavor through the chocolate undertones.
- Distilled white vinegar: The acidic partner to baking soda that creates the lift and contributes to that velvety tender texture.
- Green gel food coloring: Gel coloring is essential here—liquid coloring thins the batter and mutes the color, while gel gives you vibrant green without compromising structure.
- Cream cheese, softened: The heart of your frosting; letting it come to room temperature ensures it blends smoothly and doesn't create lumps.
- Unsalted butter, softened: Provides richness and helps achieve that cloud-like frosting texture when beaten properly.
- Powdered sugar, sifted: Sifting removes lumps that would otherwise create grainy frosting—this step genuinely matters.
Tired of Takeout? 🥡
Get 10 meals you can make faster than delivery arrives. Seriously.
One email. No spam. Unsubscribe anytime.
Instructions
- Get your mise en place ready:
- Preheat your oven to 350°F and line your muffin tin with cupcake liners, then gather all your ingredients and measure them out. Taking five minutes to do this prevents the panicked scrambling halfway through and ensures nothing gets forgotten.
- Combine your dry ingredients:
- In a large bowl, whisk together flour, sugar, cocoa powder, baking soda, and salt until evenly distributed. You want no lumps of cocoa hiding in there, which is why whisking matters more than just mixing.
- Blend your wet ingredients separately:
- In another bowl, whisk the buttermilk, oil, eggs, vanilla, vinegar, and green food coloring until the mixture is smooth and the color is completely uniform. This ensures the baking soda will be evenly distributed when it hits the acid from the vinegar, and the green won't create streaks in your cupcakes.
- Bring it all together gently:
- Pour the wet mixture into the dry ingredients and fold them together until just barely combined—you want to see a few streaks of flour still visible. Overmixing develops the gluten and turns your tender cupcakes into dense little hockey pucks.
- Fill your liners evenly:
- Divide the batter among your liners until each is about two-thirds full, using a small cookie scoop if you have one for consistent sizing. Uneven filling means uneven baking and some will be done while others are still gummy in the center.
- Bake with patience:
- Slide into the oven for 16 to 18 minutes until a toothpick inserted in the center comes out clean or with just a few moist crumbs. Check them around the 15-minute mark because ovens vary, and a minute too long can dry them out.
- Cool strategically:
- Let them rest in the tin for five minutes so they set slightly and won't fall apart when you move them, then transfer to a wire rack to cool completely. Frosting warm cupcakes is a guaranteed disaster that results in frosting melting off and soaking into the cake.
- Make your frosting magic:
- Beat softened cream cheese and butter together until smooth and fluffy, about two minutes, then add your sifted powdered sugar gradually while beating. Add vanilla last and beat until the frosting is light and creamy—this takes longer than you think, but it's worth it for the texture.
- Frost with confidence:
- Once your cupcakes are completely cool, use a spatula or piping bag to frost generously, knowing that a little excess frosting on top is always the right choice. If using a piping bag, hold it perpendicular to the cupcake and apply steady pressure in a circular motion for a professional look.
- Add the final flourish:
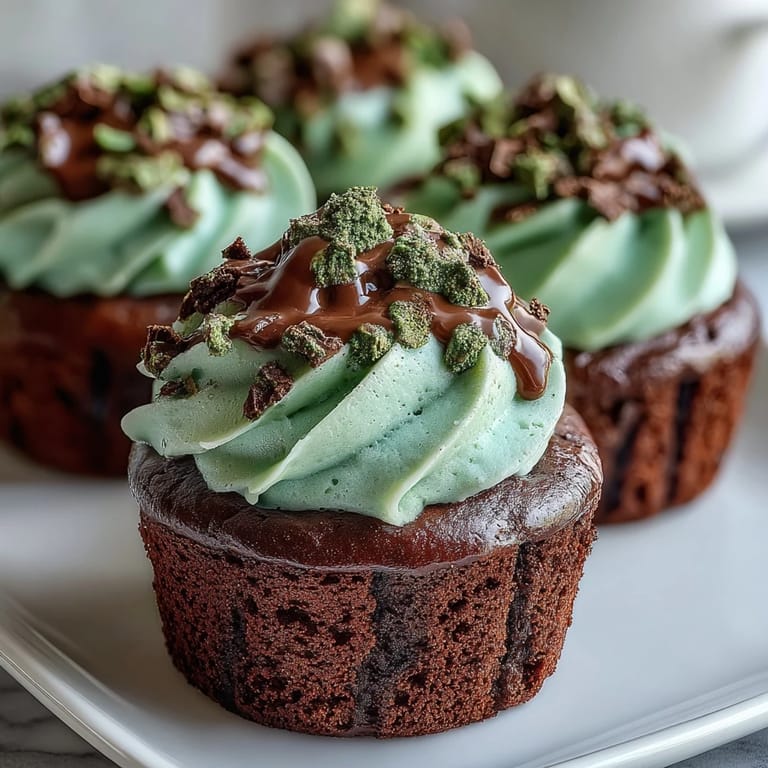
- Top with green sprinkles or shamrock candies if you're feeling festive, or leave them plain if you prefer the elegant contrast of white frosting against the green cake. Either way, they're ready to serve immediately, though they actually taste even better the next day when the flavors have settled.
 Save
Save There's something magical about bringing these to a gathering and watching people taste the green interior before they expect it. They become conversation starters, which is probably why they've become my go-to for celebrations that need a little something extra.
The Science Behind Velvet Cake
Velvet cake exists in that sweet spot between chocolate cake and regular cake, thanks to a small amount of cocoa powder combined with the acidity of vinegar and buttermilk. The cocoa isn't there to make it chocolate-forward; it's there to deepen the flavor profile and add color to the crumb. When you add the green food coloring to this cocoa base, you get that distinctive velvet green that looks nothing like artificially dyed cake, which is the entire point. The buttermilk contributes tanginess and tenderness, while the oil keeps everything moist rather than dense.
Variations That Work
I've experimented with swaps over the years, and some actually improve the outcome. Cream cheese frosting is the standard, but salted caramel frosting would be delicious if you're serving these with coffee. For a truly dairy-free version, you can use plant-based cream cheese and butter in the frosting, though you may need to add a touch more vanilla to compensate for the less rich flavor. The cupcakes themselves could work with a vanilla buttercream if you don't have cream cheese on hand, though you'd lose that slight tang that balances the sweetness perfectly.
Storage and Serving Suggestions
These keep beautifully in an airtight container at room temperature for two days, or in the refrigerator for up to five days if they're frosted. The frosting actually stays firmer in the cold, which some people prefer. These pair wonderfully with Irish coffee, which feels appropriately festive, or simply with a cold glass of milk for something more casual.
- Make them the day before your event so frosting can set completely and flavors have time to meld.
- Don't store them in a sealed container while they're still warm or condensation will make the frosting weep.
- If you're bringing them somewhere, transport them unfrosted and frost them on-site for the best appearance.
 Save
Save These cupcakes have become my spring tradition, showing up whenever there's a reason to celebrate. They're proof that festive doesn't have to mean over-the-top, and that a little thoughtfulness in ingredient selection makes all the difference between a gimmick and something genuinely delicious.
Recipe FAQs
- → What gives the cupcakes their green color?
Green gel food coloring is used to achieve the vibrant green hue without thinning the batter.
- → Can I make these cupcakes dairy-free?
Yes, substitute cream cheese, butter, and buttermilk with plant-based alternatives for a dairy-free version.
- → What is the best way to ensure moist cupcakes?
Using buttermilk and careful mixing helps keep the cupcakes tender and moist.
- → How should I decorate the cupcakes?
After frosting, decorate with green sprinkles or shamrock candies for a festive touch.
- → What baking tools are needed?
A 12-cup muffin tin, mixing bowls, electric mixer or whisk, measuring tools, wire rack, and spatula or piping bag are recommended.