 Save
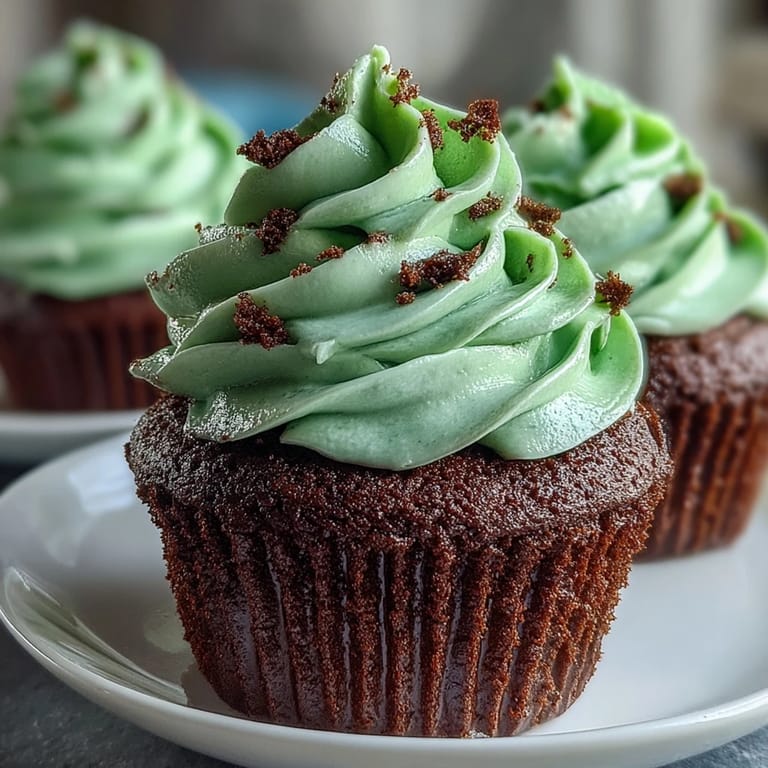
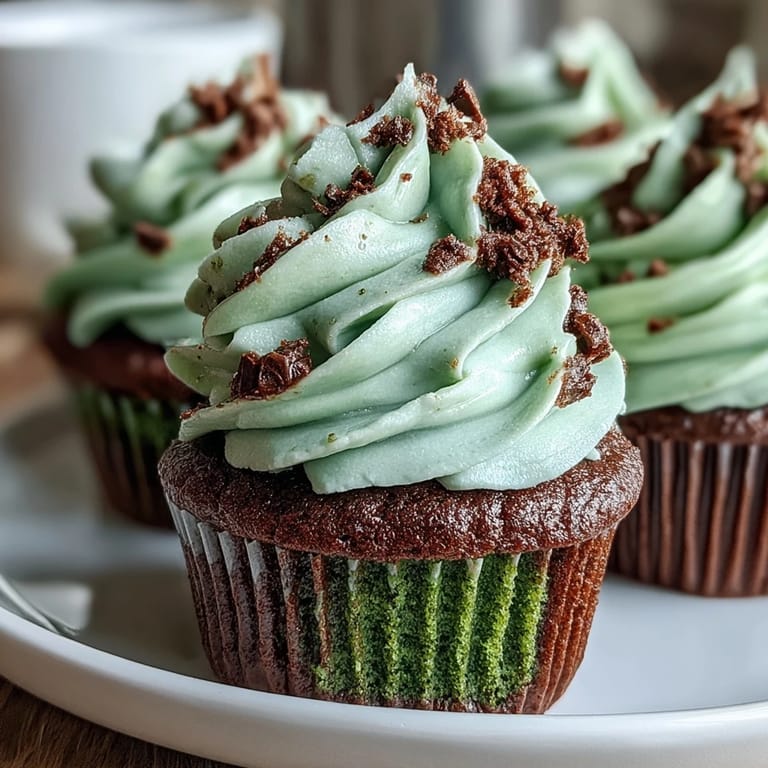
Save My friend Sarah texted me in a panic the night before St. Patrick's Day: she'd promised to bring desserts to our neighborhood party and completely blanked on what to make. I was elbow-deep in laundry when she called, so I did what any reasonable person would do—I threw together these green velvet cupcakes without thinking twice. The moment I pulled them from the oven, the kitchen smelled like chocolate and possibility, and I knew I'd stumbled onto something special that would become her signature move.
That party ended up being one of those perfect afternoons where the cupcakes just disappeared. I watched people bite into the green exterior, their faces light up as they tasted the subtle cocoa notes hiding underneath, and then they'd reach for another. An older neighbor who doesn't usually go in for sweets ate two and asked for the recipe—which is when I realized these weren't just festive, they were genuinely craveable.
Ingredients
- All-purpose flour: This is your structure, so don't skip the sifting step—lumpy flour means dense cupcakes that no frosting can save.
- Unsweetened cocoa powder: The secret weapon that gives these their depth; use good quality stuff because it makes a real difference you'll taste immediately.
- Baking soda and salt: These activate the cocoa and the vinegar, creating the tender crumb that makes people say these are lighter than expected.
- Unsalted butter and granulated sugar: Creaming these together properly takes about two minutes and creates the air pockets that keep these cupcakes moist, not dense.
- Room temperature eggs, buttermilk, and sour cream: Temperature matters here because cold ingredients don't incorporate smoothly, and you'll end up with a batter that looks separated.
- Green food coloring (gel preferred): Liquid coloring will throw off your ratios and dilute the batter; gel gives you that jewel-tone green without extra moisture.
- White vinegar: This seems random but it's doing actual work—it reacts with the baking soda and makes the crumb impossibly tender.
- Cream cheese and butter for frosting: Both must be softened or you'll fight with lumps that no amount of beating fixes.
- Powdered sugar: Always sift this, even though it feels like an extra step; you'll avoid gritty frosting.
Tired of Takeout? 🥡
Get 10 meals you can make faster than delivery arrives. Seriously.
One email. No spam. Unsubscribe anytime.
Instructions
- Set your oven and prep like you mean it:
- Get your oven to 350°F and line your muffin tin with liners before you start mixing anything. This way you're not scrambling while batter sits around getting dense.
- Combine your dry ingredients:
- Whisk the flour, cocoa powder, baking soda, and salt together in a medium bowl. This distributes the leavening evenly so you don't get weird rise patterns.
- Cream butter and sugar until it's fluffy:
- Beat them together for about two full minutes—you want the mixture to look pale and increased in volume. This is where air gets trapped, which is what keeps these cupcakes tender.
- Add eggs slowly with intention:
- Drop in one egg, beat until it disappears, then add the next one. Rushing this creates graininess you can't fix later.
- Bring in the wet ingredients:
- Mix in the buttermilk, sour cream, vanilla, green food coloring, and vinegar until everything is combined. The mixture might look slightly curdled—that's fine, it's just the acid working.
- Fold in the dry ingredients gently:
- Add the flour mixture in two additions, stirring just until you don't see white streaks anymore. Overmixing develops gluten, which makes cupcakes tough and crumbly.
- Fill and bake with patience:
- Divide batter evenly among liners until each is about two-thirds full, then bake for 16 to 18 minutes. A toothpick should come out clean with maybe one or two moist crumbs clinging to it.
- Cool properly before frosting:
- Let them rest in the pan for five minutes, then move to a wire rack. They need to be completely cool or the frosting will melt and slide off dramatically.
- Make the frosting while cupcakes cool:
- Beat cream cheese and butter together until smooth, then gradually add sifted powdered sugar, vanilla, and a pinch of salt. Beat until it's fluffy and spreadable.
- Frost with whatever method feels right:
- Use a piping bag if you want pretty swirls, or just use a spatula for a more relaxed look. Either way, add green sprinkles because they finish the story.
 Save
Save I made these again last year for my daughter's school bake sale, and watching kids choose the green velvet over all the other options felt like a small victory. There's something about the combination of festive color and that unexpected chocolate note that makes people feel like they're getting away with something delicious.
Why These Work Better Than You'd Expect
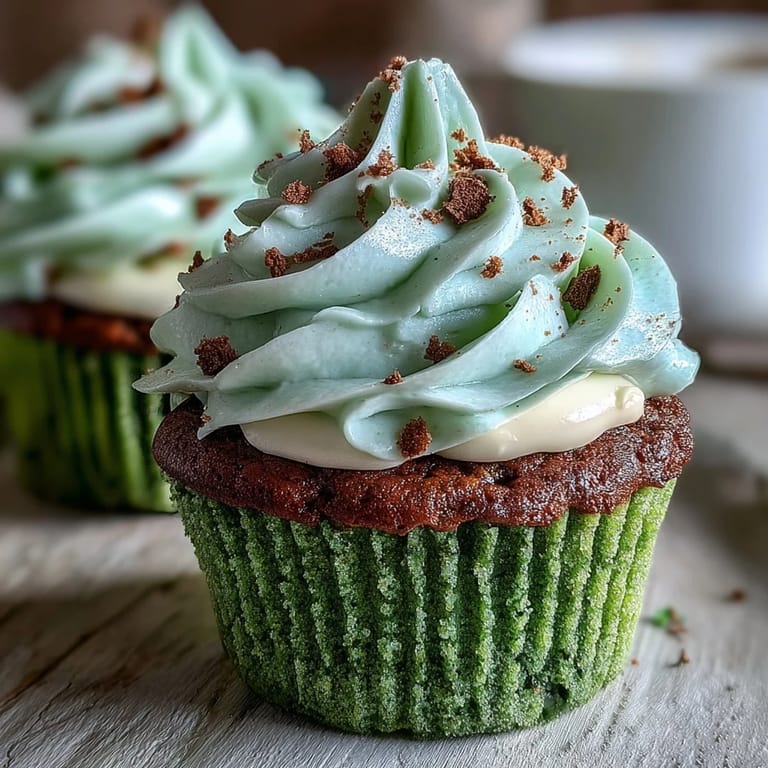
Most green velvet cupcakes are basically just vanilla with food coloring and no soul. These ones have the cocoa powder giving them structure and depth, which is why they taste sophisticated instead of one-note. The buttermilk and sour cream combination keeps them incredibly moist for days, which matters if you're making these ahead for an event.
The Frosting Makes Everything
I've learned that cream cheese frosting can either be silky or grainy, and the difference comes down to softness and patience. Letting your cream cheese and butter sit out for a full hour before mixing is boring but non-negotiable—cold cream cheese will fight you every step of the way. The sifted powdered sugar matters too; lumpy frosting tastes gritty against your tongue, which undermines everything else you've done.
Timing and Temperature Details
These cupcakes bake in about 17 minutes in my oven, but ovens vary wildly, so start checking at the 16-minute mark. You want the toothpick to come out mostly clean because a few moist crumbs mean they'll stay tender as they cool, while completely clean means they might be slightly dry. If you're making these ahead, they actually taste better the next day when the flavors settle together.
- Store unfrosted cupcakes in an airtight container at room temperature for up to three days, or freeze for up to two months.
- Keep frosted cupcakes in the fridge if your kitchen is warm, especially if you're not eating them the same day.
- Let them come to room temperature before serving for the best texture and flavor experience.
 Save
Save These cupcakes have become my go-to for St. Patrick's Day because they're foolproof and elegant enough to feel like you tried. They're the kind of dessert that makes people ask for the recipe, which is really the highest compliment any baker can get.
Recipe FAQs
- → What gives the cupcakes their green color?
The vibrant green hue comes from gel green food coloring, which provides a more intense shade without affecting the batter's texture.
- → Can I make the cupcakes without cocoa powder?
Cocoa powder adds a subtle chocolate note and enhances the velvet texture, but omitting it will change the flavor and color slightly.
- → How do I achieve a moist texture in these cupcakes?
Using ingredients like buttermilk and sour cream adds moisture and tenderness to the cupcakes, ensuring they stay soft and fluffy.
- → What tips help with smooth cream cheese frosting?
Make sure both cream cheese and butter are softened before beating together to achieve a smooth, creamy consistency without lumps.
- → Can I decorate the cupcakes with something other than green sprinkles?
Yes, you can use various toppings such as chopped nuts, edible glitter, or themed decorations to suit your celebration.