Save
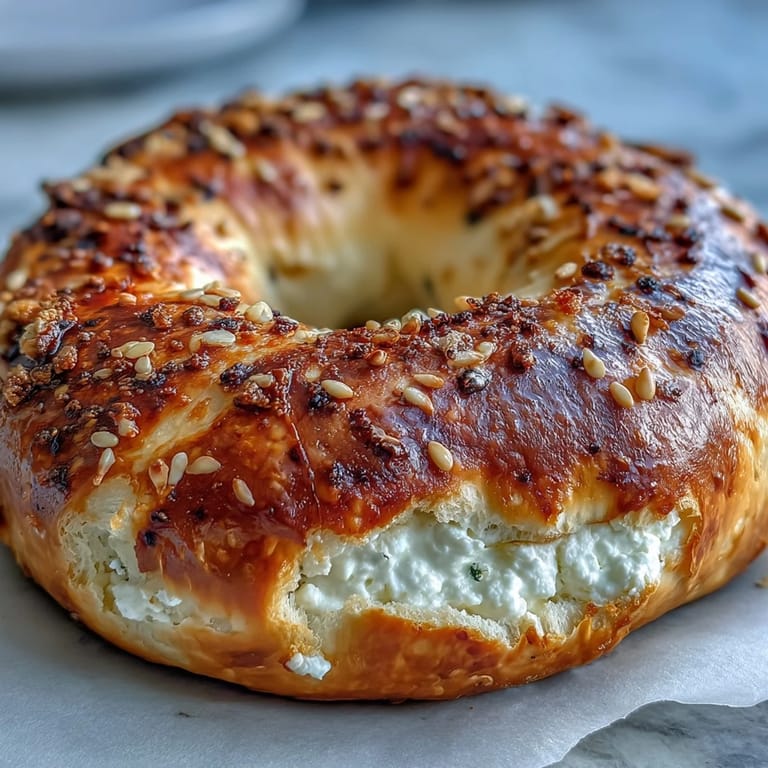
Save Last winter I found myself snowed in with nothing but a container of Greek yogurt and some flour, not expecting much when I threw them together. The dough came together so quickly that I actually laughed out loud in my kitchen. When these came out of the oven, golden and puffy like proper bakery bagels, I called my sister immediately to tell her I had discovered kitchen magic. Now they are my go to when I want something that feels special but does not require planning ahead or waiting for dough to rise.
My daughter came home from school one day absolutely hangry and I had these ready in under thirty minutes. She looked at me suspiciously when I said homemade bagels but then proceeded to eat three in a row. Now whenever friends sleep over I double the batch because the smell of them baking draws everyone into the kitchen asking what time breakfast started.
Ingredients
- Plain Greek yogurt: The thick strained variety is non negotiable here because regular yogurt makes the dough too sticky and wet
- All purpose flour: Creates the structure while whole wheat flour adds a nice nuttiness and fiber if you want to substitute half
- Baking powder: This is what gives the bagels their lift and puffy interior since there is no yeast involved
- Salt: Essential for flavor balance but you can reduce slightly if you are using a salty seasoning on top
- Egg wash: Makes your toppings actually stick and gives that beautiful glossy golden sheen
Tired of Takeout? 🥡
Get 10 meals you can make faster than delivery arrives. Seriously.
One email. No spam. Unsubscribe anytime.
Instructions
- Preheat and prep:
- Get your oven to 375°F (190°C) and line a baking sheet with parchment paper because these will stick otherwise.
- Whisk the dry stuff:
- Combine the flour, baking powder, and salt in a medium bowl so the leavening is evenly distributed throughout.
- Bring it together:
- Add the Greek yogurt and mix with a spatula or your hands until it forms a shaggy dough, adding a sprinkle of flour or spoonful of yogurt to get the right consistency.
- Shape your bagels:
- Divide the dough into four pieces, roll each into a 6-inch rope, and form into circles by pinching the ends together firmly.
- Add the finishing touches:
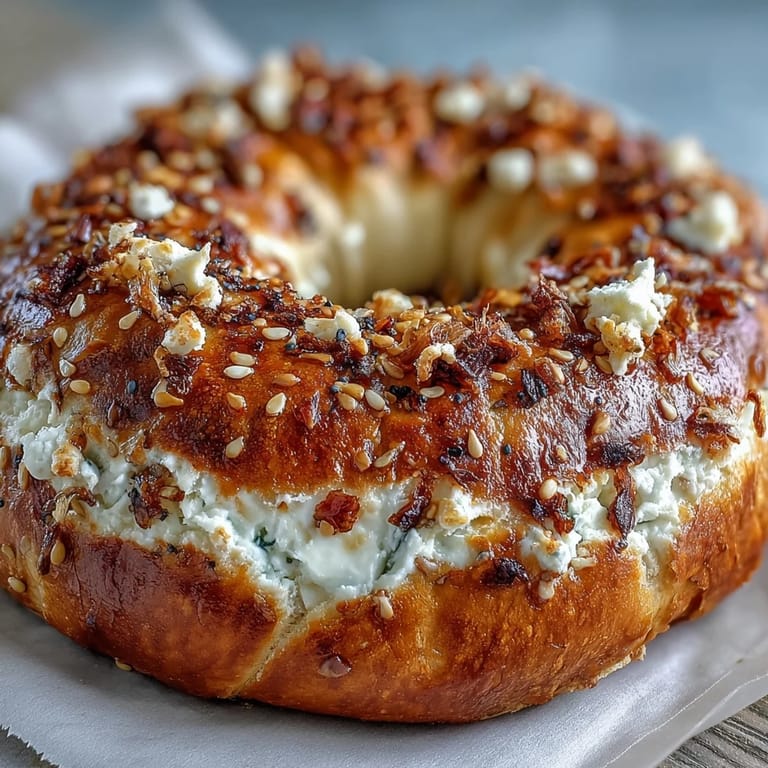
- Brush with beaten egg and sprinkle with whatever toppings make you happy, pressing them gently so they adhere.
- Bake to perfection:
- Slide into the oven for 20 to 25 minutes until golden brown and puffed, then let them cool for at least 10 minutes before slicing.
 Save
Save These bagels have become a Saturday morning tradition in our house. My partner is in charge of toppings because he takes it way too seriously, creating different combinations for each bagel. There is something so satisfying about watching people bite into something homemade and warm that you know took almost no effort.
Mixing and Shaping Tips
I have learned that using wet hands to shape the ropes prevents sticking without needing extra flour that can make them dense. Rolling the dough between your palms with a gentle back and forth motion creates the most uniform ropes. If the ends keep separating when you form the circle, dampen them slightly with water before pinching.
Topping Ideas That Work
Everything bagel seasoning is classic but sometimes I do a savory version with shredded cheddar and everything seasoning mixed together. For something sweet, cinnamon sugar on top of the egg wash creates this incredible crunchy candied crust. The key is pressing the toppings gently into the dough so they do not fall off during baking.
Storage and Freezing
These bagels actually freeze beautifully and I always keep a stash in the freezer for emergency breakfast moments. Slice them before freezing so you can pop them directly into the toaster.
- Wrap each bagel individually in plastic wrap then place in a freezer bag for up to three months
- For refrigerator storage, keep them in a paper bag to prevent moisture buildup that makes them soggy
- Revive day old bagels by slicing and toasting or warming them in a 350°F oven for 5 minutes
 Save
Save There is something deeply satisfying about making bread in thirty minutes that would normally take hours. These bagels have saved more rushed mornings and last minute brunch plans than I can count.
Recipe FAQs
- → Why use Greek yogurt instead of traditional yeast dough?
Greek yogurt acts as a natural leavening agent when combined with baking powder, creating a tender, chewy texture without the wait time for yeast to rise. It also adds protein and moisture for bagels that stay fresh longer.
- → Can I use regular yogurt instead of Greek yogurt?
Greek yogurt works best because its thicker texture creates the right dough consistency. Regular yogurt is too watery and will require adding significantly more flour, which affects the final texture and taste.
- → What flour works best for these bagels?
All-purpose flour gives the lightest texture. You can substitute half with whole wheat flour for added fiber, but using entirely whole wheat may make them denser. Bread flour also works well for extra chewiness.
- → Why is my dough too sticky or too dry?
Yogurt brands vary in thickness. If the dough sticks to your hands, add flour one tablespoon at a time. If it's crumbly and won't hold together, add more yogurt one spoonful at a time until it forms a smooth ball.
- → How do I store these bagels?
Keep in an airtight container at room temperature for 2 days, refrigerate for up to 5 days, or freeze individually wrapped for up to 3 months. Thaw frozen bagels overnight or toast directly from frozen.
- → Can I make these without the egg wash?
The egg wash helps toppings stick and creates a shiny, golden crust. You can skip it, though the bagels will have a matte finish. For a vegan alternative, brush with melted butter or plant milk.